In this article we will deploy a virtual machine (VM) using QEMU and KVM. In virtualization lingo, the VM is called Guest and the computer/server on which this VM is created is called Host.
Why we need Ubuntu Guest on top of Ubuntu Host? Short answer : To do risky stuff. Long answer : You want to do things which can crash or corrupt your computer OS. Things like installing specific version of some third party libraries, inserting kernel module, developing and testing kernel or device driver. All of these are considered risky activities and you might want to isolate these activities from you daily use computer. However you don’t have infinite budget an extra computer. So you need a virtual machine. Another reason is that carrying around two computer my weigh you down, literally. So you create a new computer out of thing air(Not exactly, but using some wonderful opensource tools).
Pre-requsite
- A desktop/laptop with good enough hardware. I have 12GB RAM and 150GB free space available on my SSD. Even 30GB free space should be sufficiant.
- Ubuntu or similar Linux OS with HW virtualization enabled.
- sudo access for the computer.
- KVM available
$ sudo kvm-ok
INFO: /dev/kvm exists
KVM acceleration can be used
Create a work directory Create a directory where you will keep your images, disk file and any other components related to this virtual machine.
mkdir -p ~/work/virtual_machine
cd ~/work/virtual_machine
Install QEMU and Required Tools Install QEMU for virtualization:
sudo apt update
sudo apt install -y qemu-system qemu-utils
Download the Ubuntu ISO I am downloading 24.04.1 server image. This is because I don’t need GUI interface for this virtual machine. You may download Desktop image if you need GUI for your VM from Ubuntu release page.
wget https://releases.ubuntu.com/noble/ubuntu-24.04.1-live-server-amd64.iso
Create a Virtual Disk Create a virtual disk for your VM. This will act like a hard disk for your VM. You VM will be installed on this disk file. I am keeping it 20GB but you may choose larger size as per your need.
qemu-img create -f qcow2 ubuntu_vm_disk.qcow2 20G
Install Ubuntu VM on disk file
qemu-system-x86_64 \
	 -enable-kvm \
	 -m 2048 \
	 -cpu host \
	 -smp 2 \
	 -drive file=ubuntu_vm_disk.qcow2,format=qcow2 \
	 -cdrom ubuntu-24.04.1-live-server-amd64.iso \
	 -boot d \
	 -net nic -net user,hostfwd=tcp::2222-:22
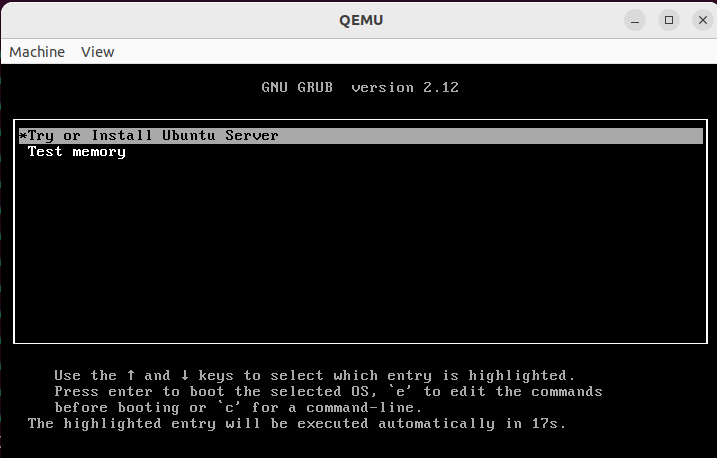
You will be prompted with terminal based OS installation.
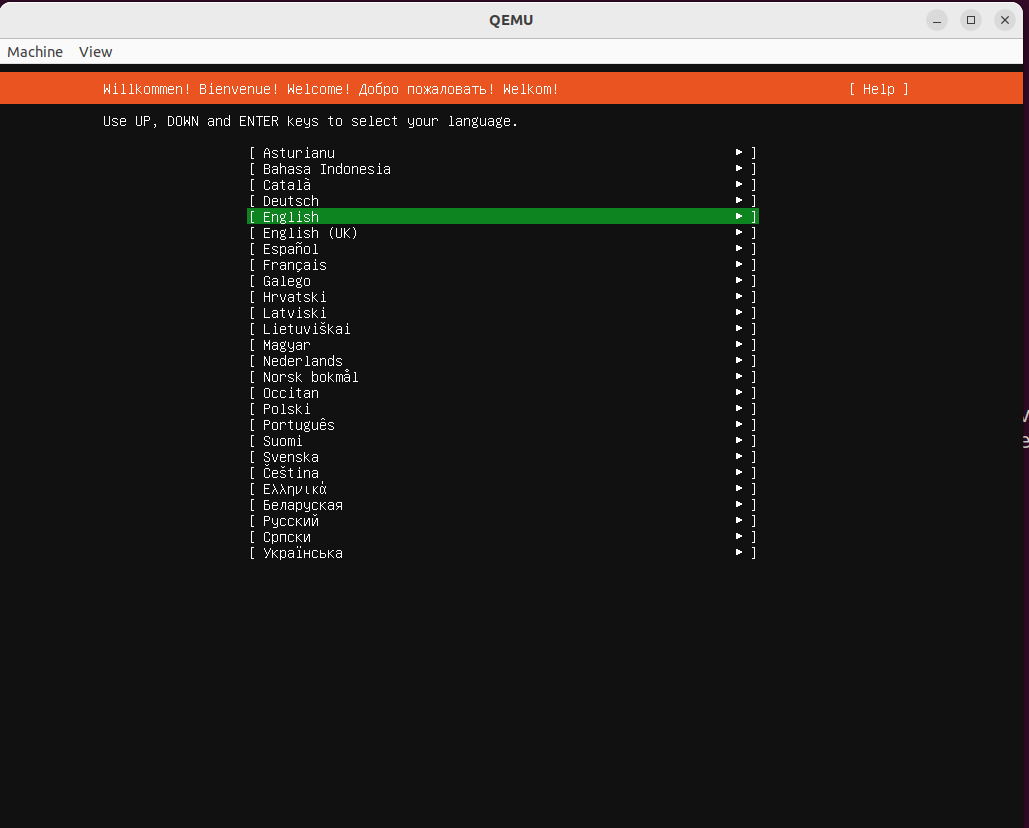
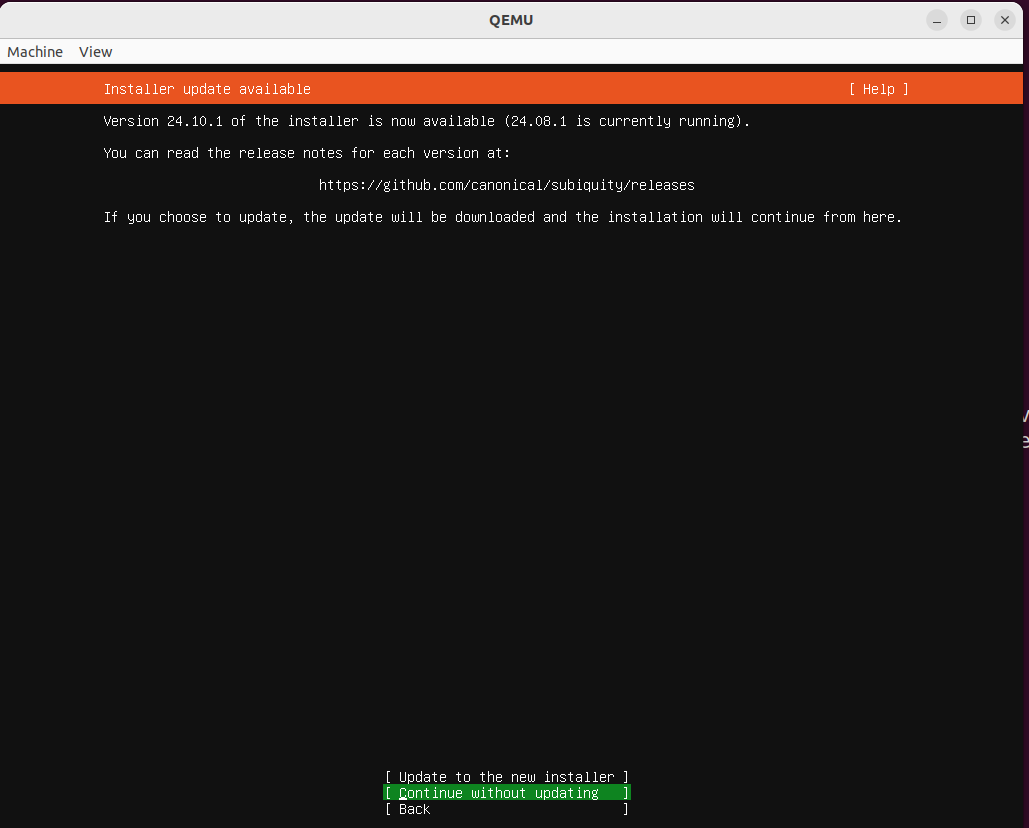
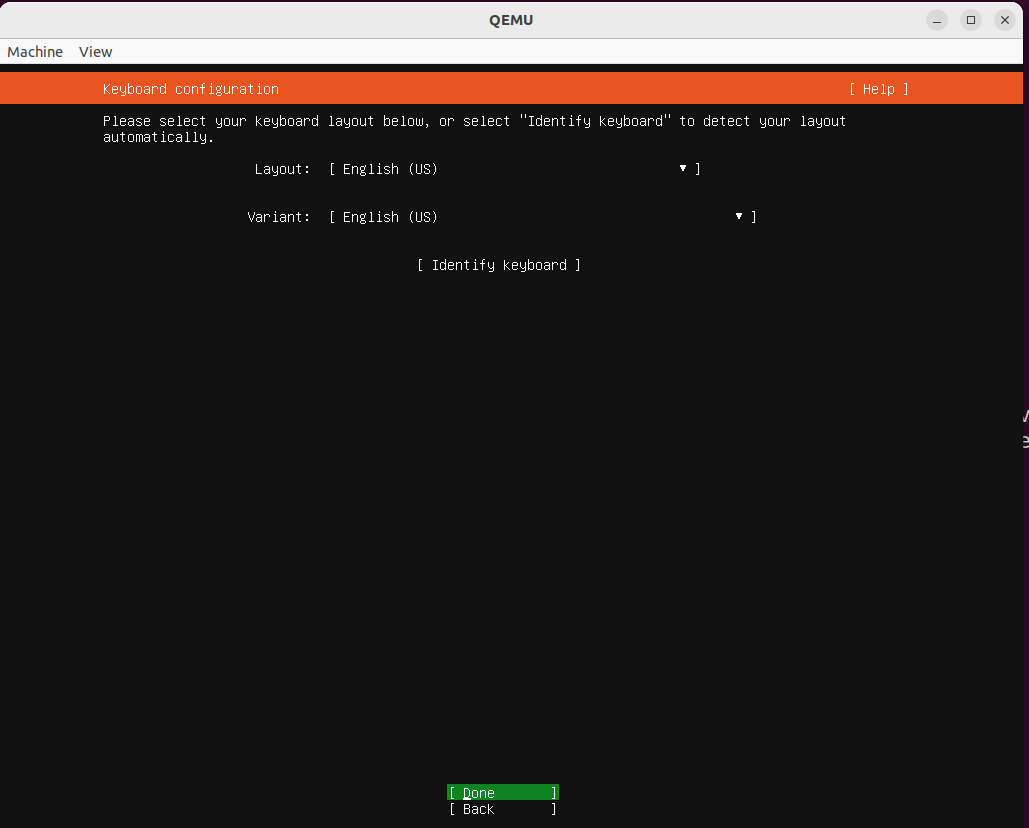
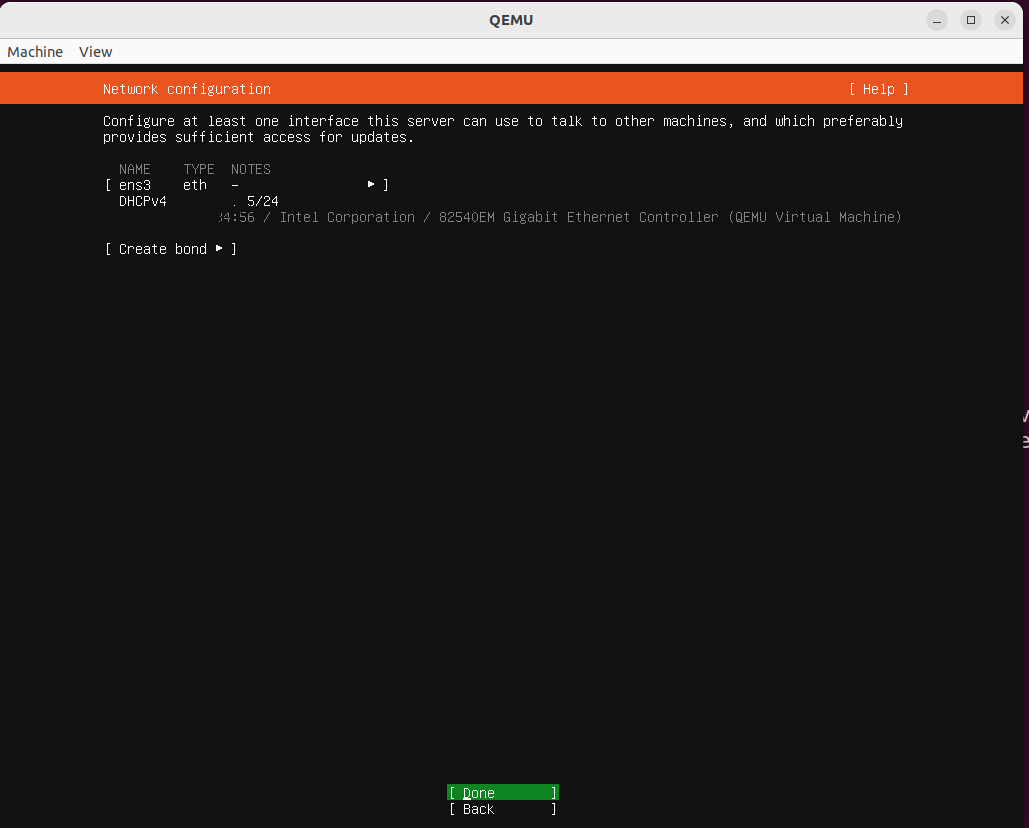
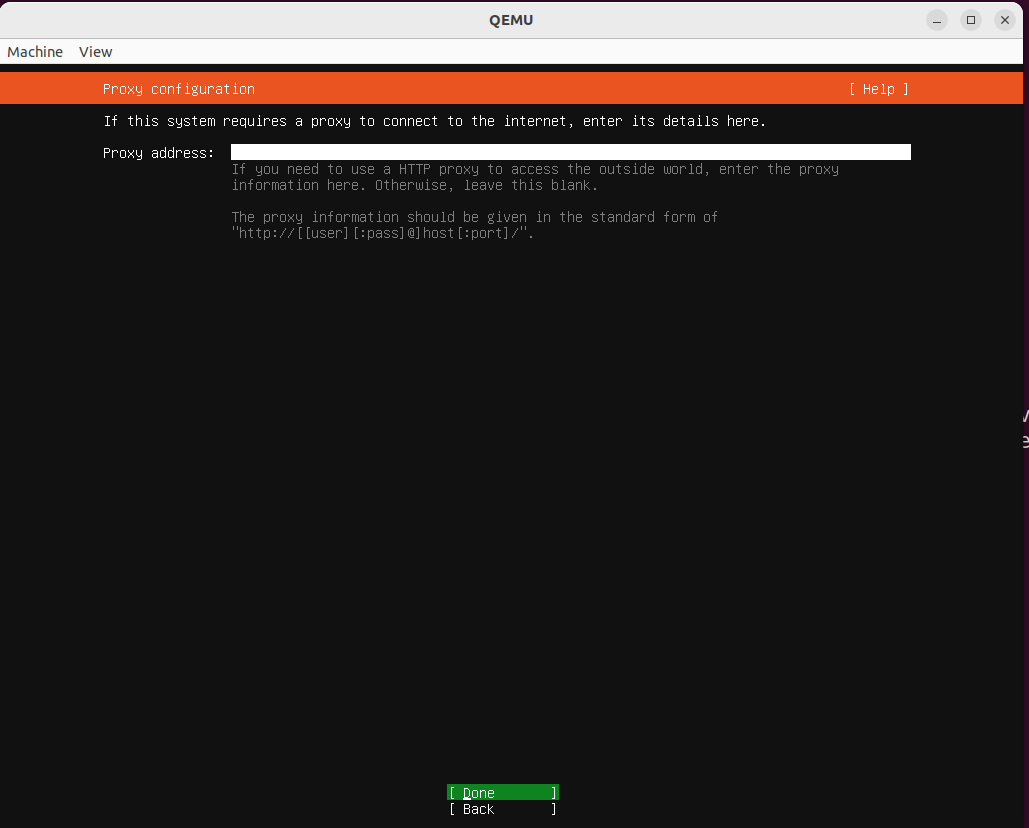
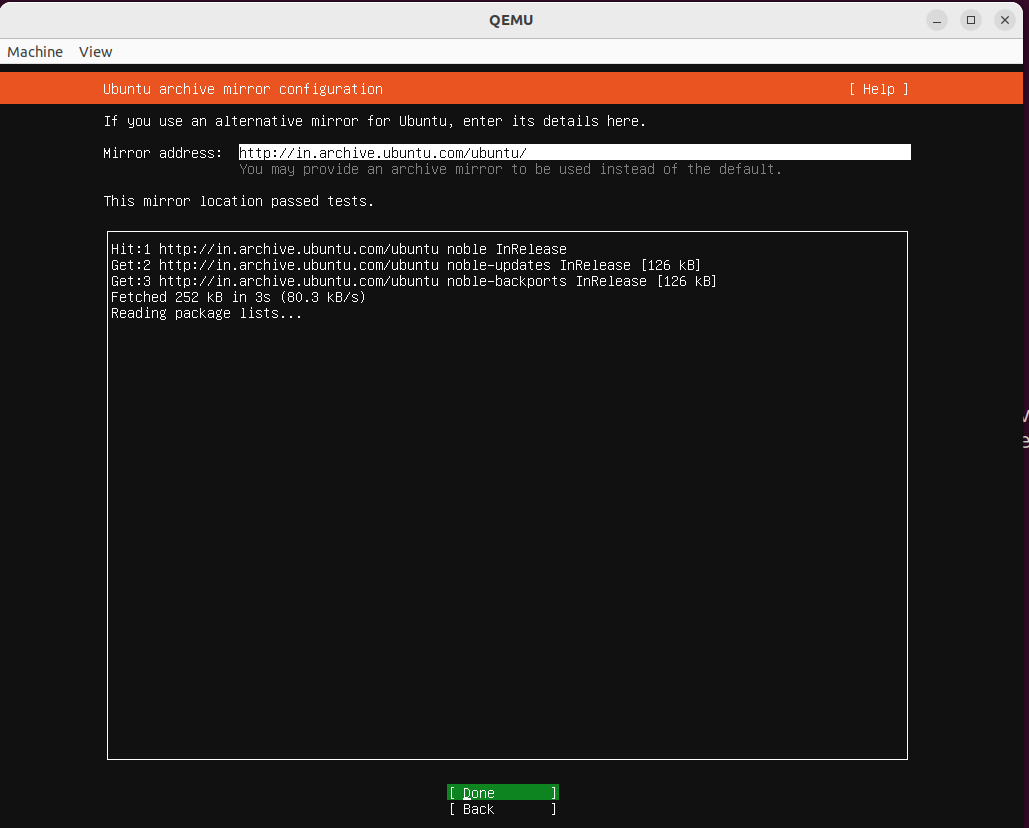
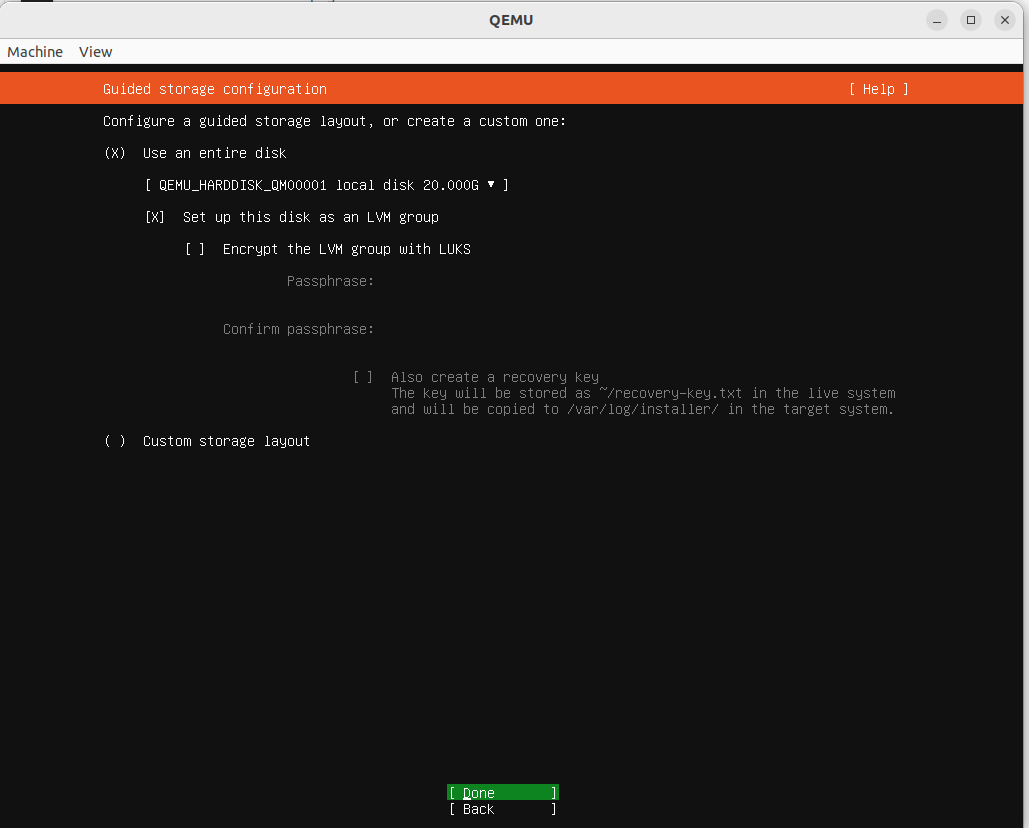
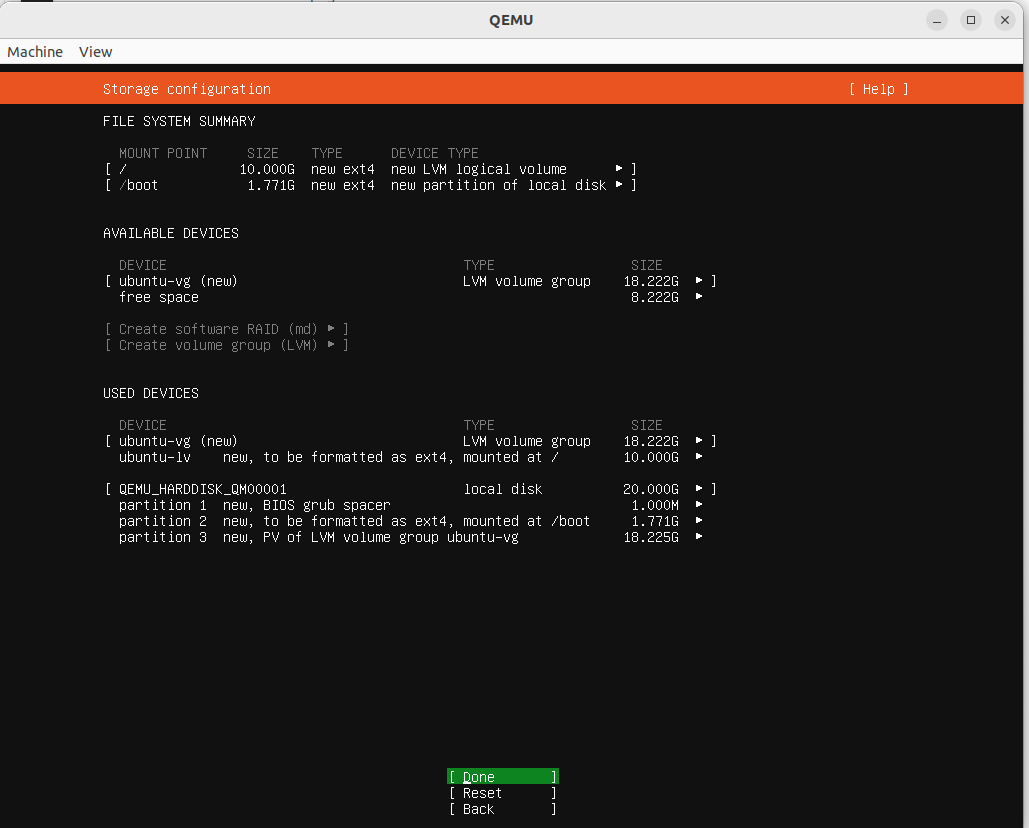
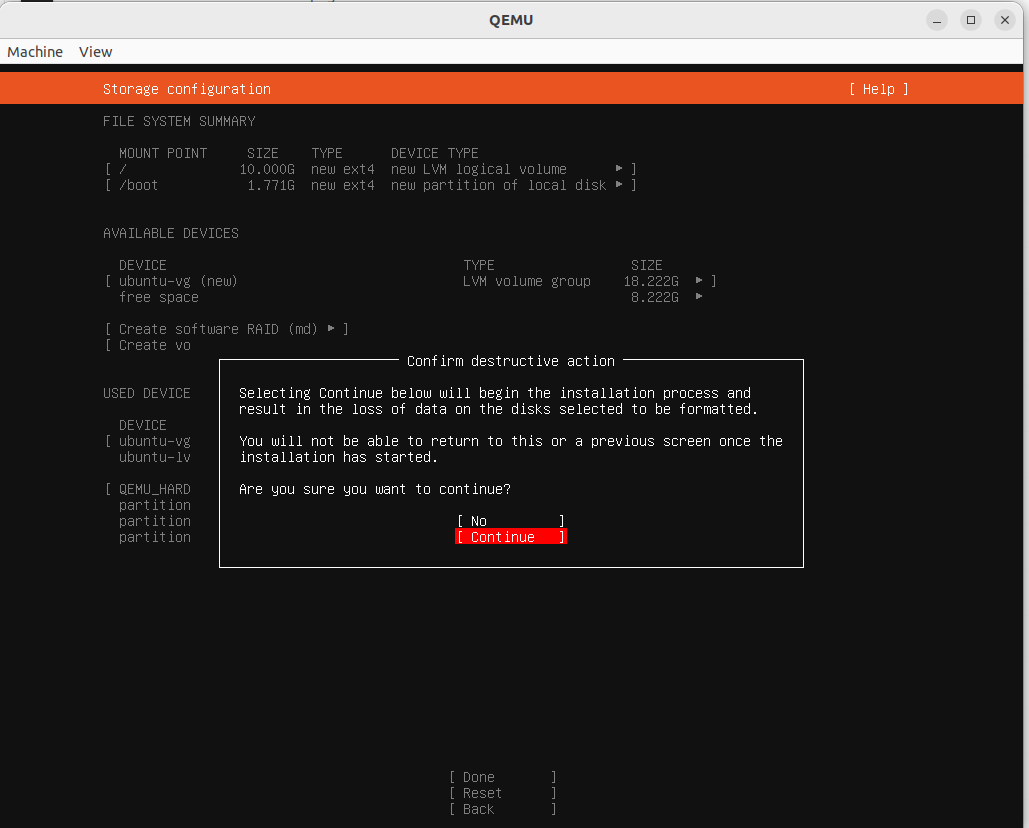
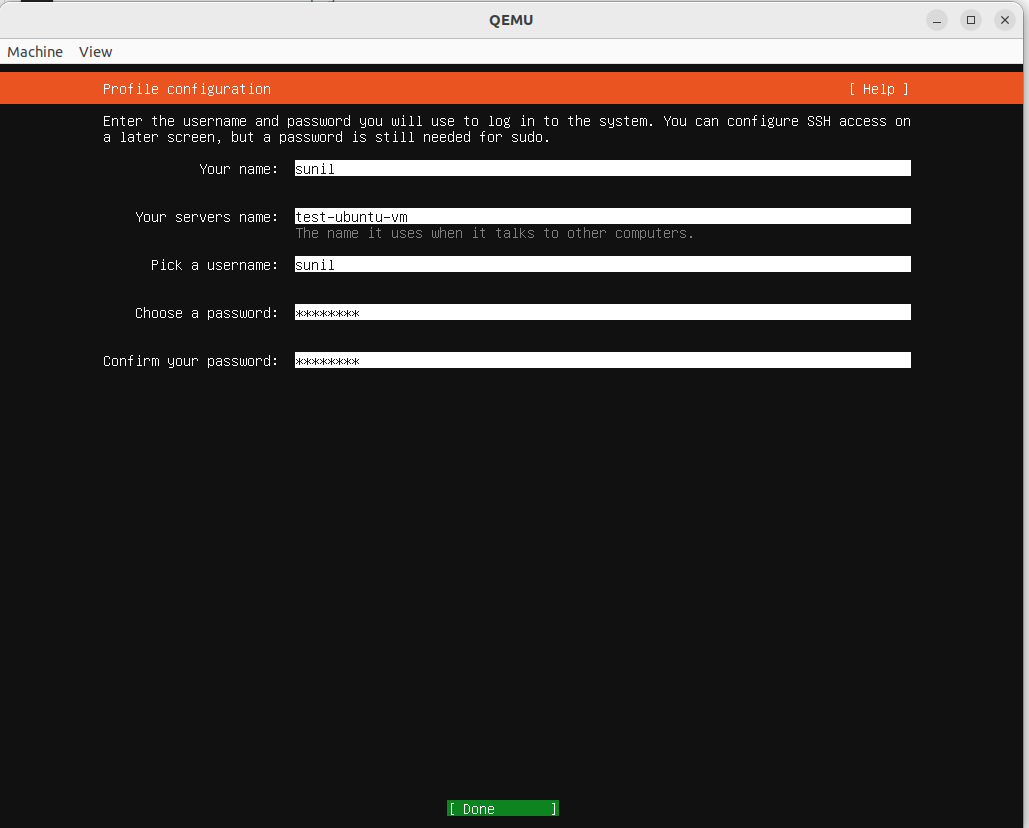
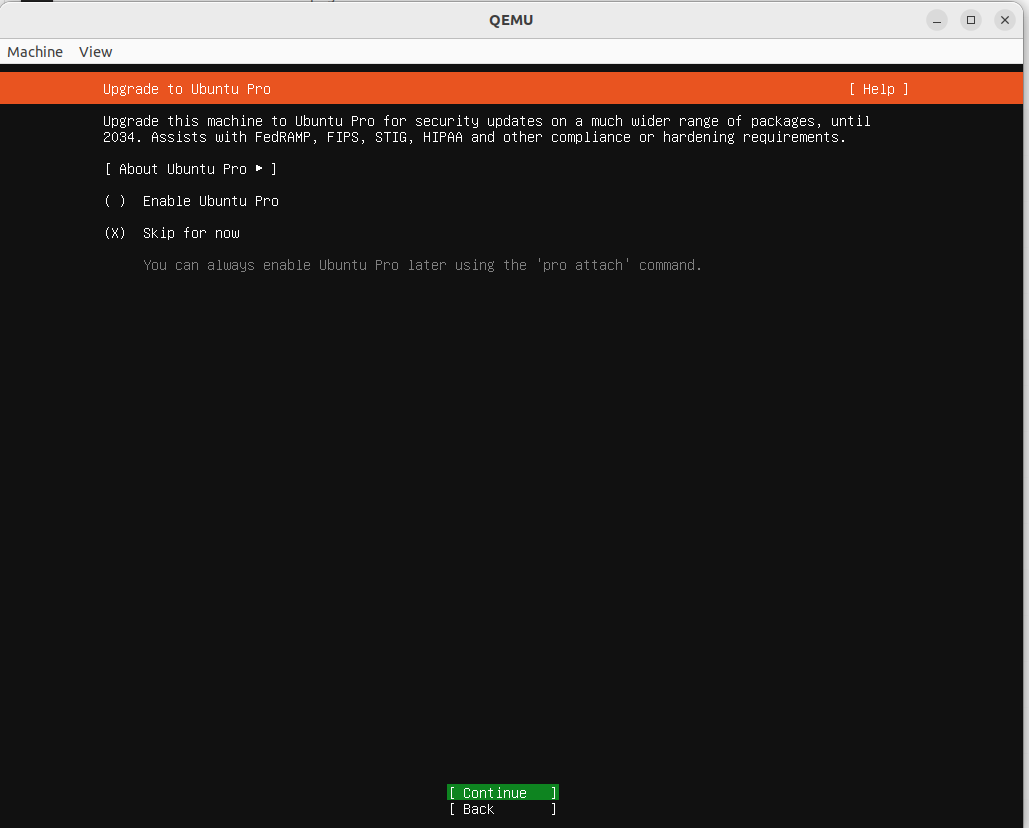
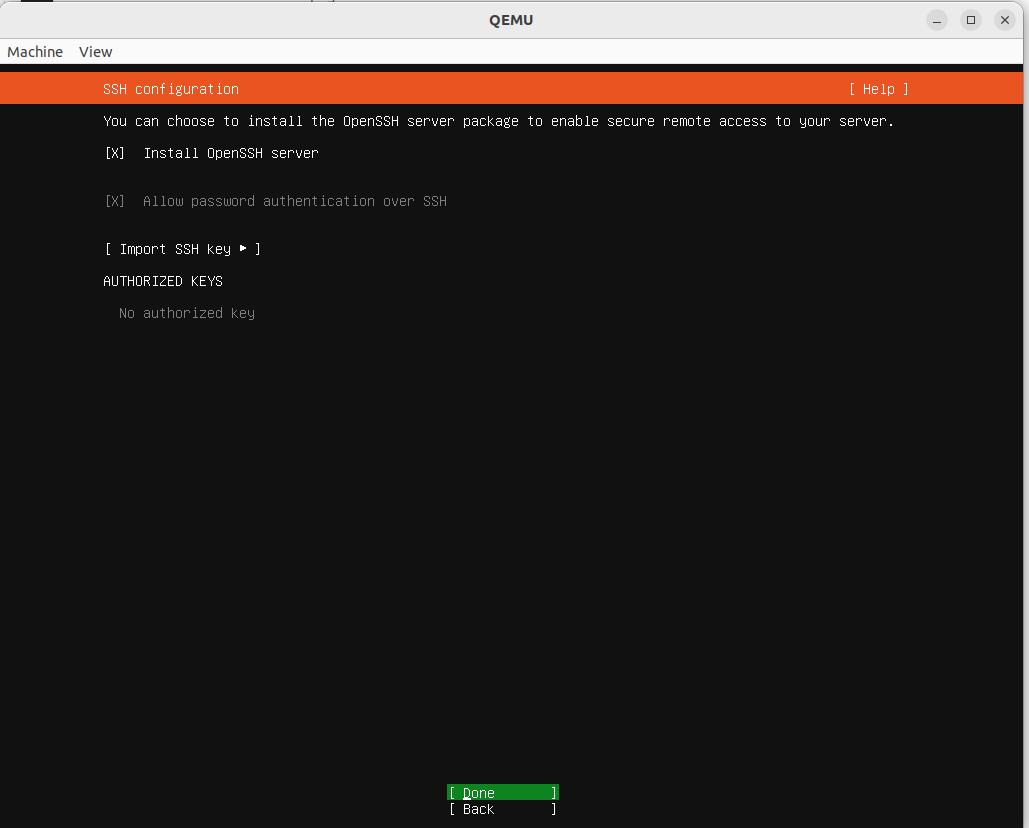
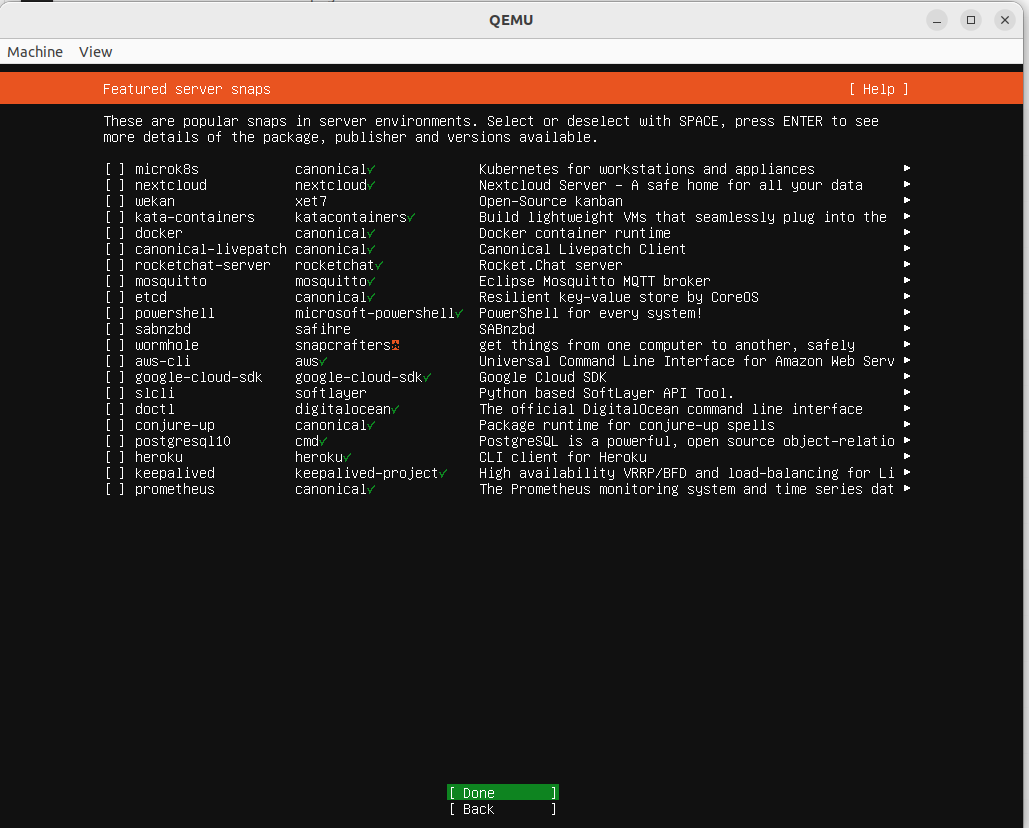
Ubuntu VM installation steps Follow the installation procedure. You can go with defaults for almost all of the screens. I chose to enable ssh. That’s the only deviation from default options I chose. Also provide VM machine name, user name and password as per your preference.


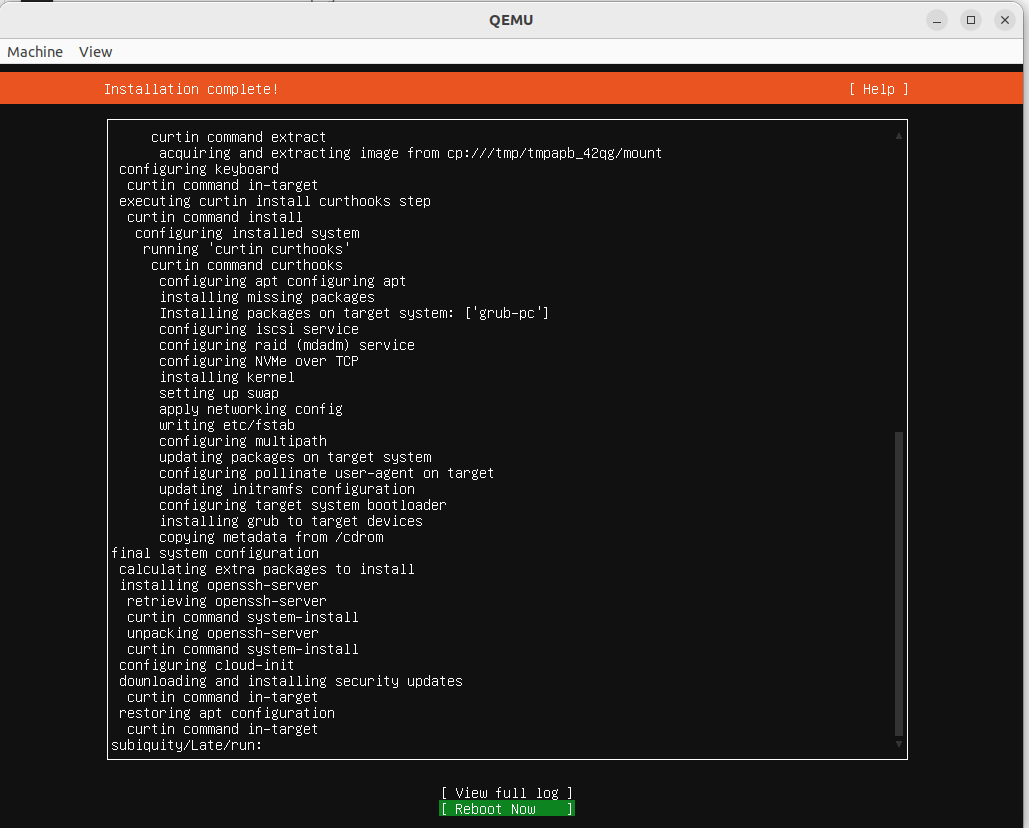
Once you press enter on “Reboot Now”, the screen will print error as follows. Don’t worry!
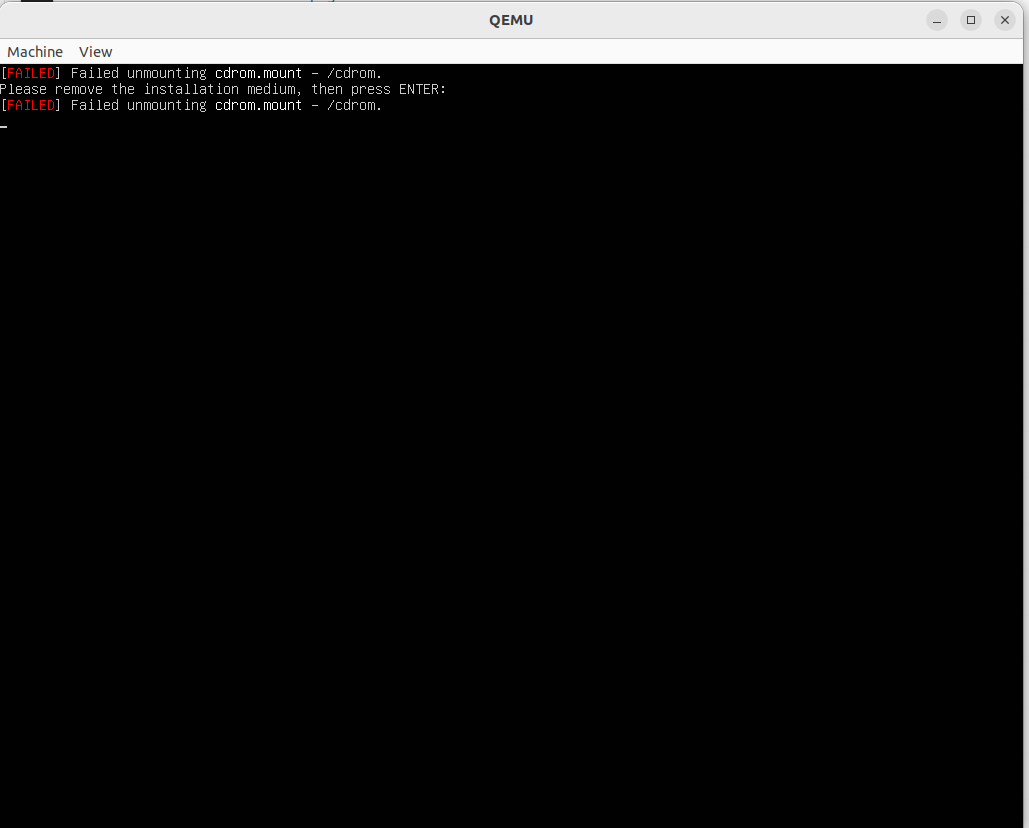
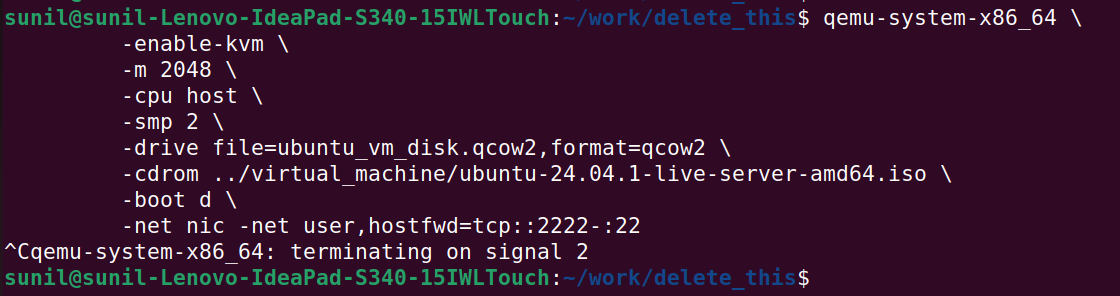
At this point you may return to your terminal from where you launched installation command for this VM and press CTRL+C to terminate the process.
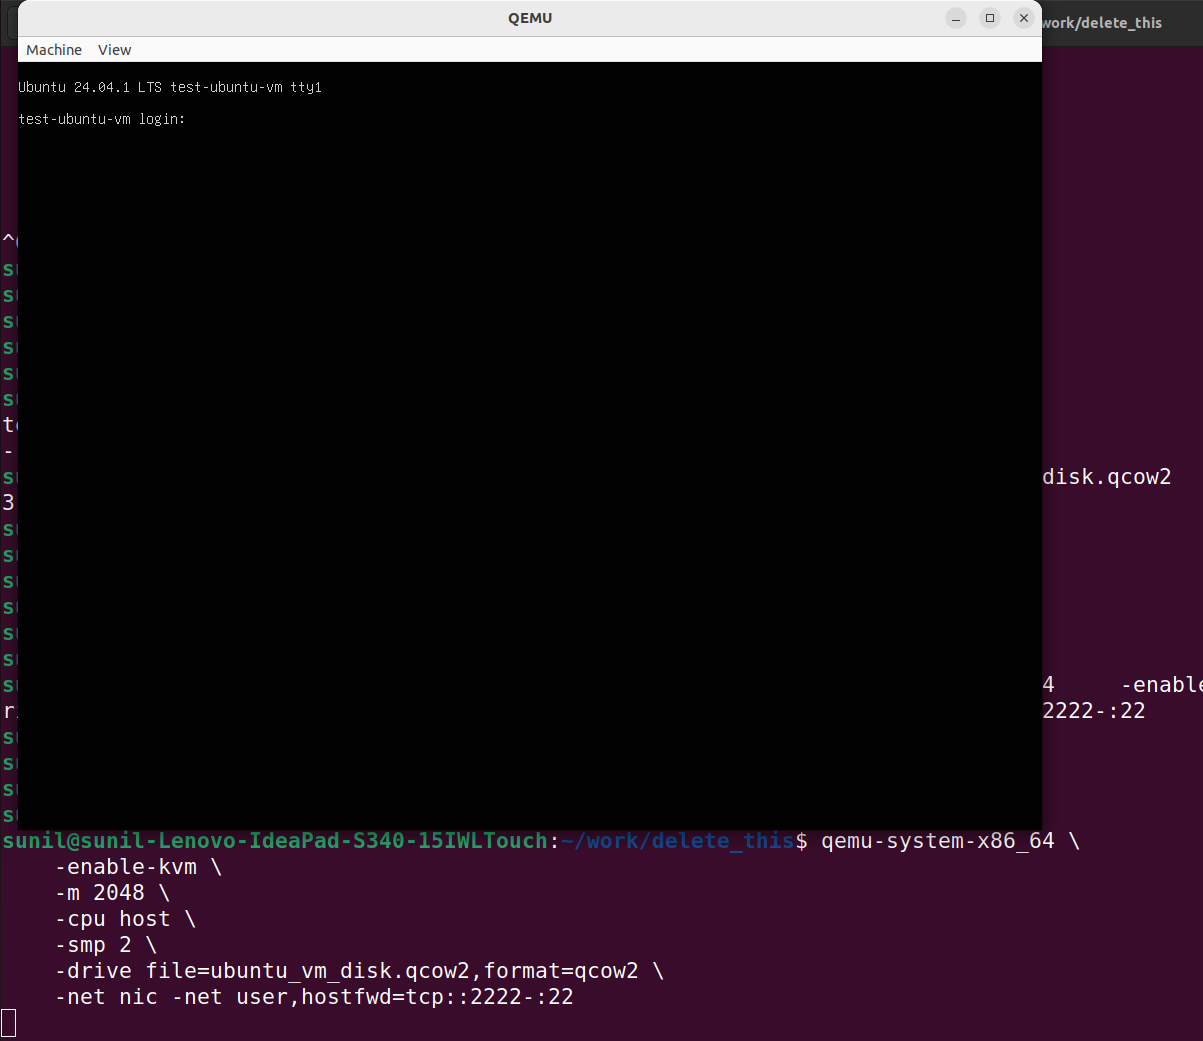
How to launch VM
From the directory where the disk file is located, launch the VM using following command,
qemu-system-x86_64 \
	-enable-kvm \
	-m 2048 \
	-cpu host \
	-smp 2 \
	-drive file=ubuntu_vm_disk.qcow2,format=qcow2 \
	-net nic -net user,hostfwd=tcp::2222-:22
Voila, you VM is ready! Supply username and password you set during installation.
At this moment, you may ssh into the VM from another terminal using following command. Change username with your username
ssh -p 2222 sunil@localhost

How to shutdown your VM from within the VM
You can shutdown VM with following command from within the VM
poweroff
How to shutdown your VM from host Go to the terminal from where you launched the VM. Press CTRL+C. This will terminate the QEMU process. This is not recommended but you may do this when VM goes unresponsive after your “risky” activities.